Correctly installing industrial door hinges requires following four steps: preparation, positioning, fastening, and adjustment. This article provides a complete installation guide. Whether you need a standard heavy-duty hingeor a custom solution, these procedures ensure safe and reliable installation.
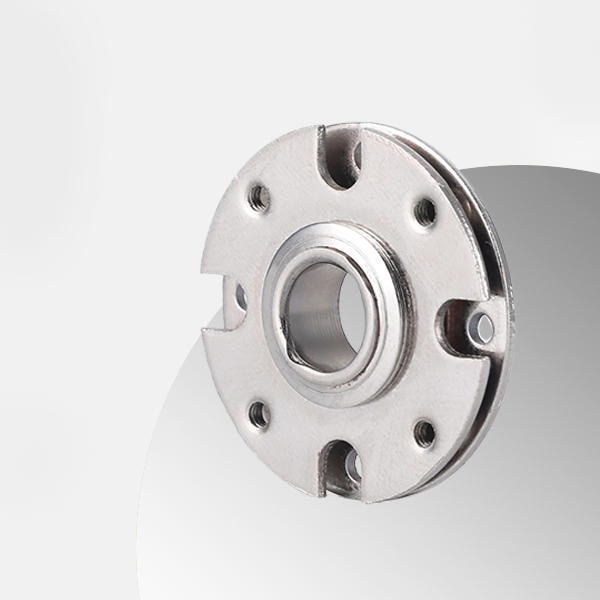
1. Preparation Work Before Installing Industrial Door Hinges
1.1 Tool and Protective Equipment Checklist
Before installing industrial door hinges, prepare electric drills, impact drills, spirit levels, tape measures, marking pens, and socket wrenches. Concrete wall installations require expansion bolts and suitable drill bits. Welded hinges require welding machines and face shields.
Personal protective equipment includes impact goggles, cut-resistant gloves, and safety shoes. Metal debris during installation may injure eyes. Wear anti-slip gloves when handling heavy door panels to prevent slipping. Heavy-duty cabinet hinges can weigh over 800 grams per unit.
Check whether hinge accessories are complete in advance, including bolts, washers, and positioning templates. Missing accessories affect installation progress. Purchasing from the industrial door hinge manufacturer ensures complete accessories.
1.2 On-Site Environment Assessment
Assess whether the wall or door frame structure at the installation location is solid. Brick-concrete structures require confirmation of wall thickness and strength sufficient to support hinges. Industrial door hinges cannot be directly installed on lightweight partition walls; add backing plates for reinforcement.
Check whether there are electrical wires or pipes above the installation area. Use wall scanners to identify hidden pipelines before drilling. Ensure no personnel stand in the door panel swing path during installation.
Outdoor installation work should not be performed in strong winds. Strong winds may cause door panels to lose control and injure personnel. Indoor installations also require dry floors without oil to prevent slipping.
1.3 Temporary Door Panel Fixation Measures
Before installing industrial door hinges, temporarily secure door panels with support stands or wooden wedges. Door panels can weigh 100 to 300 kilograms; tipping can cause serious injuries. At least two people should work together: one holding the door panel while the other operates tools.
Use lifting slings and chain hoists to suspend door panels to installation heights. Adjusting hinge positions while suspended is more precise. Ensure door panels are completely secured before tack welding welded hinges.
Temporary fixation measures can only be removed after all hinges are fully tightened or fully welded. Premature removal causes door panel displacement. Perform three opening/closing tests to confirm normal hinge load-bearing before removal.
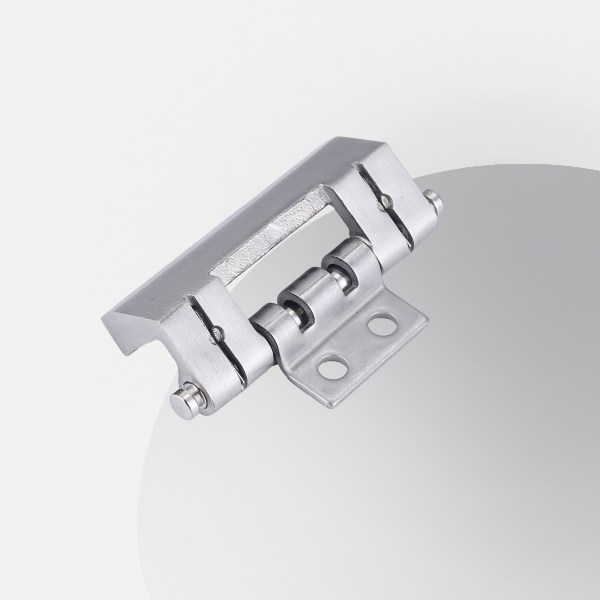
2. Precise Measurement and Marking of Industrial Door Hinge Installation Positions
2.1 Determining Hinge Installation Height
Industrial door hinges are typically installed at one-third and two-thirds of the door panel height. Greater spacing between upper and lower hinges provides better load stability. Measure upward from the door panel bottom with a tape measure to mark installation centerlines precisely.
Use a spirit level to ensure both hinge installation points are on the same vertical line. Offset errors exceeding 3 millimeters cause uneven door panel gaps. Mark corresponding positions on both the door panel and door frame with a marking pen.
For door panels exceeding 2.5 meters in height, install three hinges. The middle hinge is positioned 50 millimeters above the center point between upper and lower hinges for optimal torsion resistance. NEMA-rated enclosure hinge installation spacing follows manufacturer drawings.
2.2 Hole Position Horizontal and Vertical Calibration
Use a spirit level to calibrate mounting hole positions, ensuring complete horizontal alignment. Use plumb lines or laser levels for vertical calibration to prevent door panel tilting. Use at least two calibration points per hinge to confirm positions.
Use positioning templates to mark all screw holes before drilling. Positioning templates significantly reduce installation errors. When templates are unavailable, measure hinge hole spacing with calipers and mark manually.
After calibration, re-verify upper and lower hinge hole position consistency. Drilling can proceed only when errors are controlled within plus or minus 1 millimeter. Precise industrial door hinge positioning is the foundation for long-term door panel deformation-free operation.
2.3 Door Panel and Frame Gap Reservation
Reserve uniform gaps between door panels and frames before installation. Standard gaps are 3 to 5 millimeters to ensure door panels do not rub against frames when opening. Insert equal-thickness shims into gaps to assist positioning.
Excessive gaps cause poor sealing; insufficient gaps cause binding. Adjusting hinge positions fine-tunes gap widths. When installing three hinges, measure gaps at top, middle, and bottom separately for consistency.
After confirming gaps, mark final installation boundaries of hinge leaves with a marking pen. For heavier door panels, widen the upper gap limit to 6 millimeters to reserve space for future deformation. The industrial door hinge manufacturer recommends determining gap standards based on door panel materials.
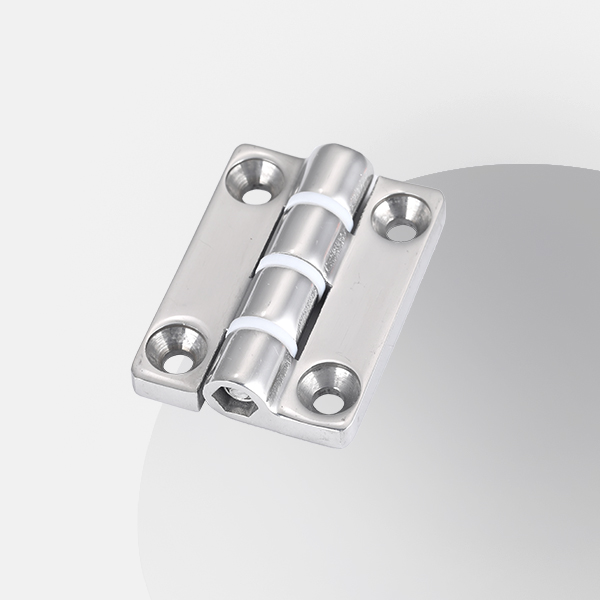
3. Drilling, Fastening, and Welding Operations for Industrial Door Hinges
3.1 Standard Pre-Drilling Operations
Select drill bits one size smaller than hinge bolt diameters for pre-drilling. Use 5.5-millimeter drill bits for 6-millimeter bolts. Drilling depth should be 5 millimeters longer than bolt length to ensure complete embedding.
Keep drill bits perpendicular to mounting surfaces during drilling to prevent hole misalignment. Remove burrs from metal door panels after drilling and chamfer with files. Use impact drills with vacuum cleaners for concrete walls to remove dust.
Insert bolts immediately after each hole is drilled to test thread smoothness. Re-check hole diameters and verticality if binding is found. Check all mounting holes on control box hinges one by one to avoid rework.
3.2 Bolt Tightening Torque Control
After aligning hinges with holes, first thread all bolts in by hand for two to three turns. After confirming all are aligned, tighten with torque wrenches. Use diagonal cross-tightening sequences starting from one corner and tightening opposite corner bolts in sequence.
Excessive torque causes leaf deformation or thread stripping. Insufficient torque provides inadequate clamping force, causing gradual loosening under door panel vibration. M8 bolts require 18 to 22 Newton-meters. Industrial box hinge torque parameters follow manufacturer recommendations.
Draw marking lines on bolt head sides after tightening. Future displacement of marking lines indicates bolt loosening. The industrial door hinge factory's product manuals specify standard torque values.
3.3 Welding Processes for Welded Hinges
Welded industrial door hinges require tack welding for positioning, with two to three weld points per hinge. After tack welding, perform three opening/closing tests to confirm uniform door panel gaps without binding. After confirmation, proceed with full welding.
Full welding uses segmented welding methods with each weld segment not exceeding 30 millimeters. Alternate welding on both sides to prevent thermal deformation causing hinge displacement. Allow five minutes of cooling after each weld segment before welding the next.
After welding, remove slag and apply anti-rust paint to all weld seams. Weld seams are the most rust-prone areas; anti-rust treatment is critical. Custom industrial door hinge welding parameters follow manufacturer process cards.
4. Post-Installation Adjustment and Acceptance of Industrial Door Hinges
4.1 Opening/Closing Feel and Gap Inspection
After hinge installation, slowly open and close door panels three to five times to feel whether rotation is smooth. Any binding or uneven resistance indicates installation deviations. Check that four-side gaps between door panels and frames differ by no more than 2 millimeters top-to-bottom and left-to-right.
When door panels open to 90 degrees, they should remain stable when released without auto-rotation. Door panels that auto-open or auto-close indicate verticality issues. Loosen fixing bolts and add 0.5 to 1 millimeter adjustment shims below leaves.
Test cushioning effects for hinges with damping functions. Door panels should automatically decelerate during the final 15 degrees of closing. Damping failures require readjustment or replacement. Industrial door hinge load capacity should meet design requirements after installation and adjustment.
4.2 Fastener Retightening and Marking Line Inspection
After all adjustments are complete, perform final fastener retightening. Retightening sequences also follow diagonal cross patterns to ensure uniform force distribution. Check whether bolt marking lines are aligned after retightening.
For welded hinges, inspect weld appearance to ensure no porosity, slag inclusions, or cracks. Tap welds lightly with a hammer and listen to sounds to judge incomplete penetration. Qualified welds produce crisp sounds; incomplete welds produce dull sounds.
After all bolts are tightened, apply high-strength thread-locking compound to prevent vibration loosening. Outdoor hinges use anti-rust thread-locking compound. Record torque values and gap data for each hinge as maintenance baselines.
4.3 Safe Use and Maintenance Recommendations
Check fastener conditions once daily during the first 72 hours of use. Thereafter, check quarterly. Retighten loose bolts immediately with torque wrenches to standard values.
Apply lubricating grease to pivot shafts every six months. Use molybdenum disulfide grease indoors and water-resistant lithium grease outdoors. Cycle door panels ten times after application to distribute grease evenly.
Stop using immediately and investigate causes when abnormal noise or door panel settling is found. Cabinet hinges and industrial door hinge factory maintenance processes are completely identical. Contact manufacturers promptly for technical support. Correct installation and maintenance enable industrial door hinges to operate safely for over ten years.
5. Summary: Installing Industrial Door Hinges
Correctly installing industrial door hinges requires following four stages: preparation, positioning, fastening, and adjustment. Each step directly affects safety.
Preparation Stage: Prepare complete tools and protective equipment. Assess door frame structural strength. Secure door panels with support stands to prevent tipping.
Positioning Stage: Precisely measure hinge installation heights and horizontal/vertical alignment. Reserve 3 to 5 millimeters of uniform gaps.
Fastening Stage: Keep drill bits perpendicular during drilling. Follow diagonal sequences for bolt tightening and control torque within standard ranges. For welded hinges, confirm positions with tack welding before full welding. Apply anti-rust treatment promptly after welding.
Adjustment Stage: Check opening/closing feel, gap uniformity, and position-limiting functions. Retighten fasteners and record baseline data. Check fastener torque quarterly and apply lubricating grease every six months.
Heavy-duty cabinet hinges and control box hinges installation processes are consistent with industrial door hinges. NEMA-rated enclosure hinges require sealed installation according to protection rating requirements. Industrial box hinges and cabinet hinges installation standards are identical. Maintain technical communication with a reliable industrial door hinge manufacturer to obtain professional installation guidance and technical support. Correctly installed industrial door hinges can operate safely for over ten years, effectively preventing door panel falling accidents.